


Your cart
You are only away from !
Buy more & Save
Free Shipping
$10 Off
Free Mystery Gift
Recommended Add-ons:

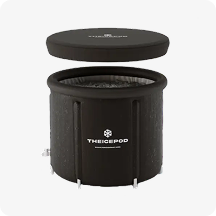
Regular price
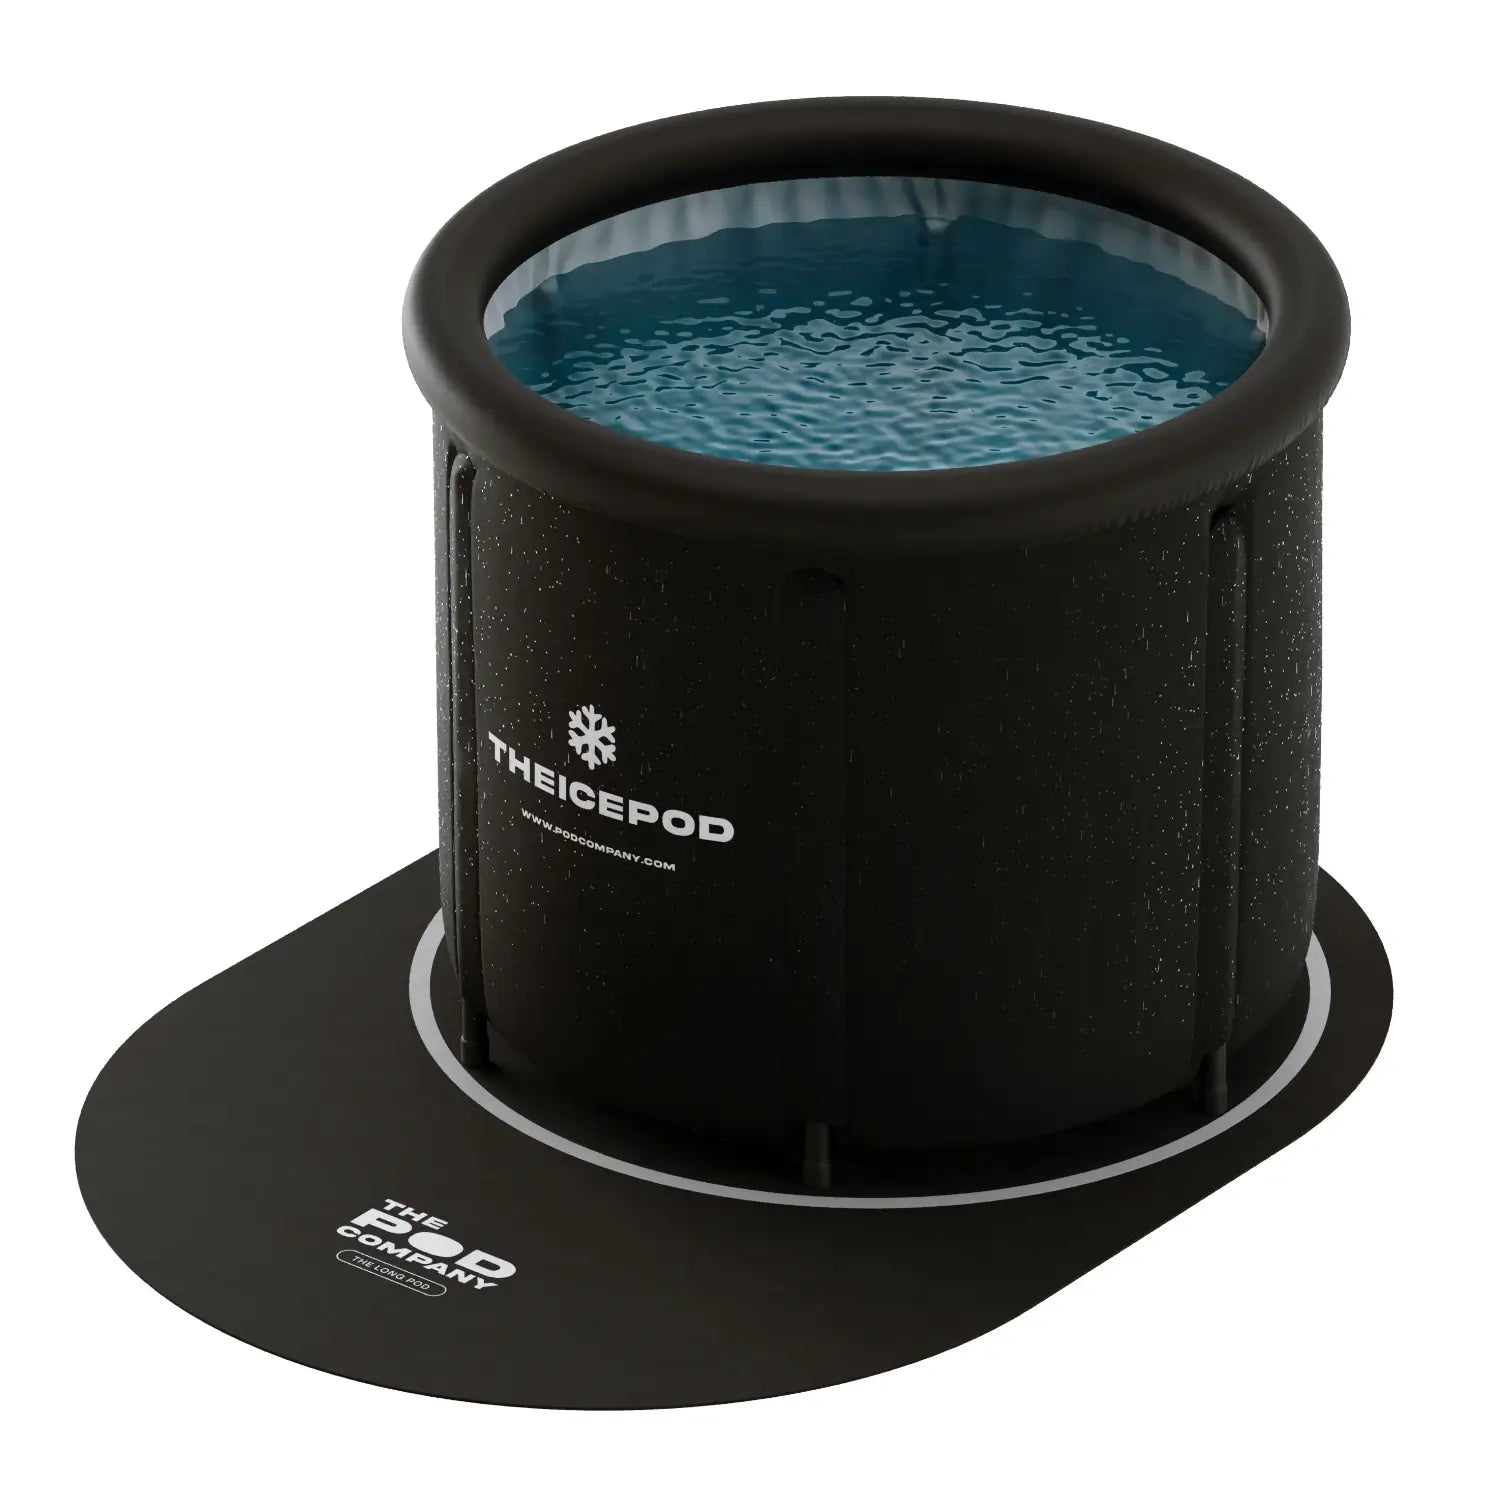
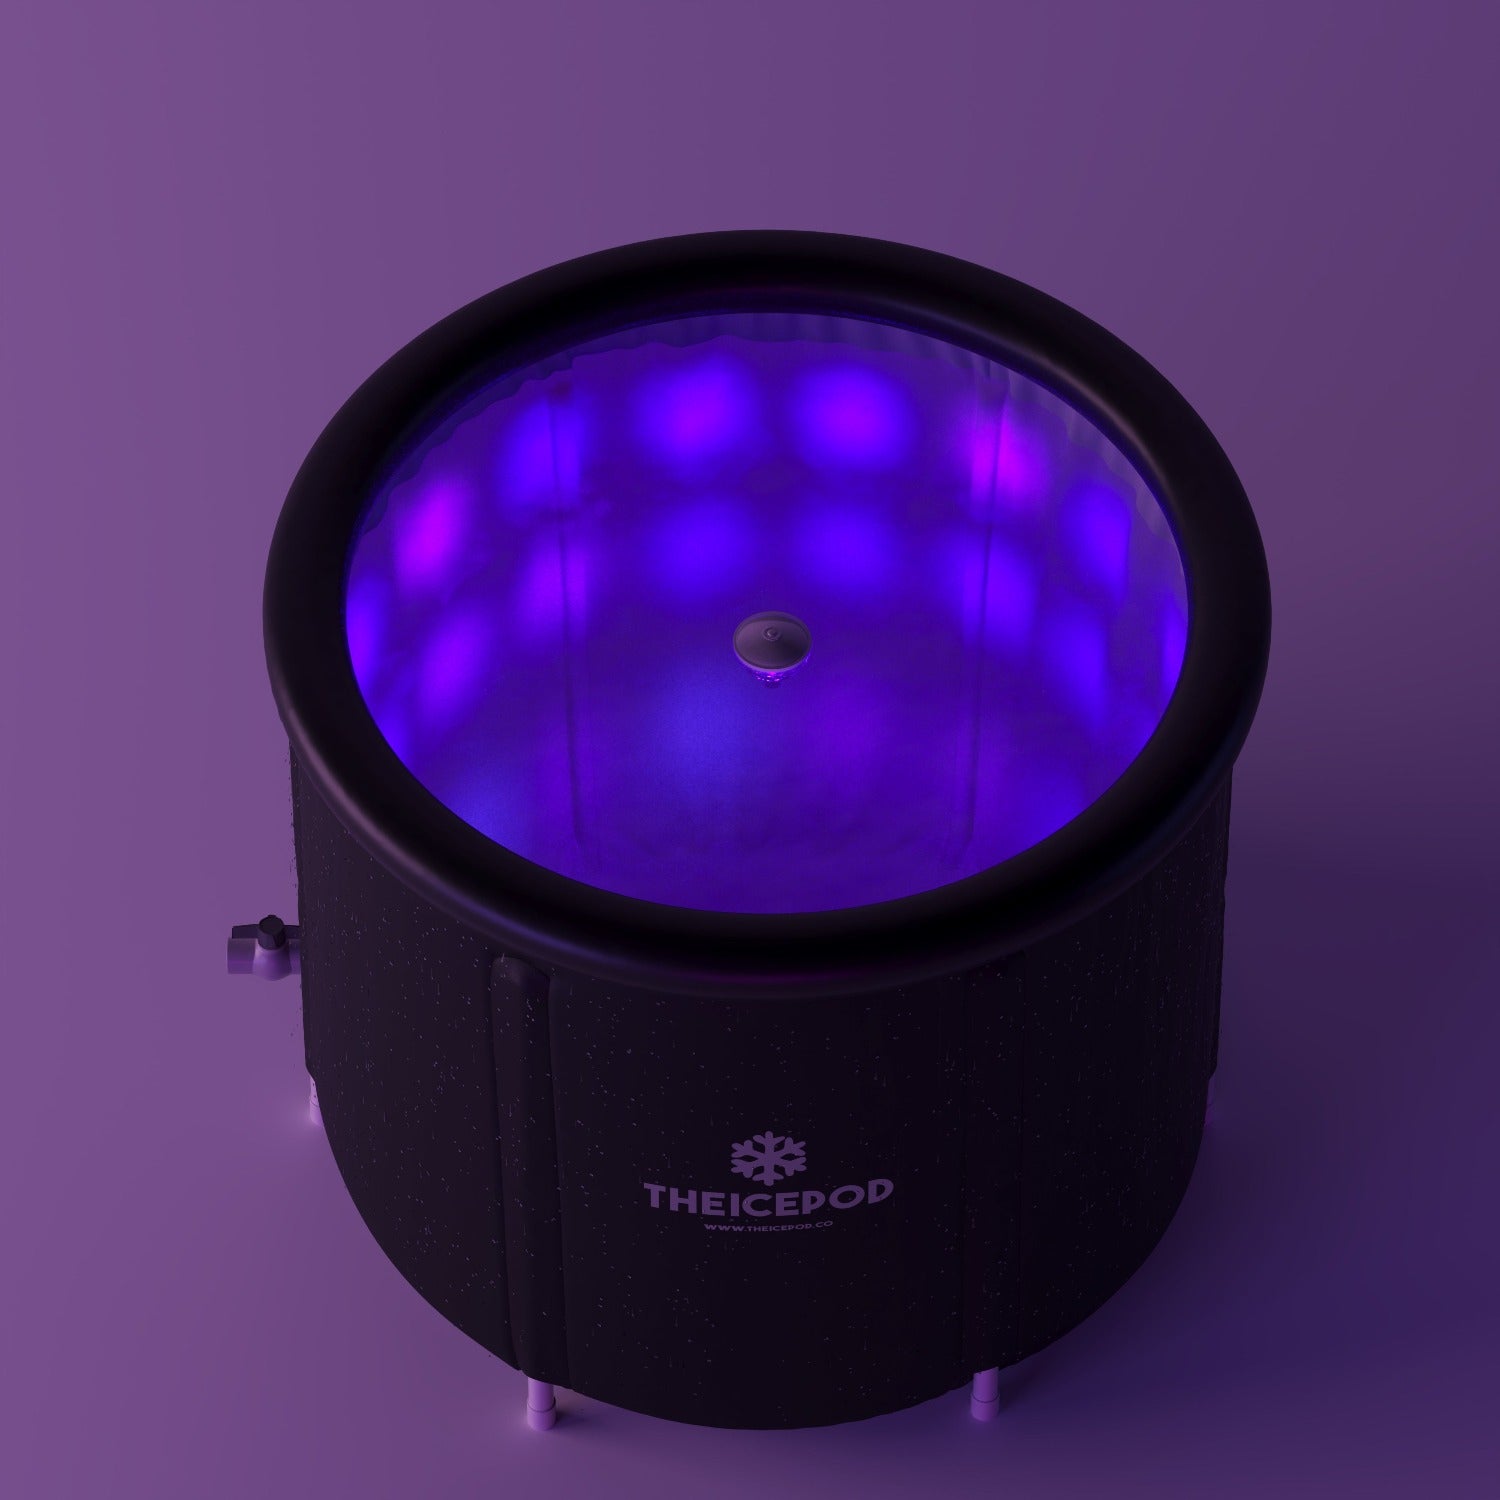
$569.00 USD
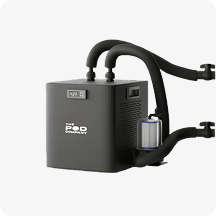
Regular price
$1,197
Sale price
$569 USD
Unit price
per

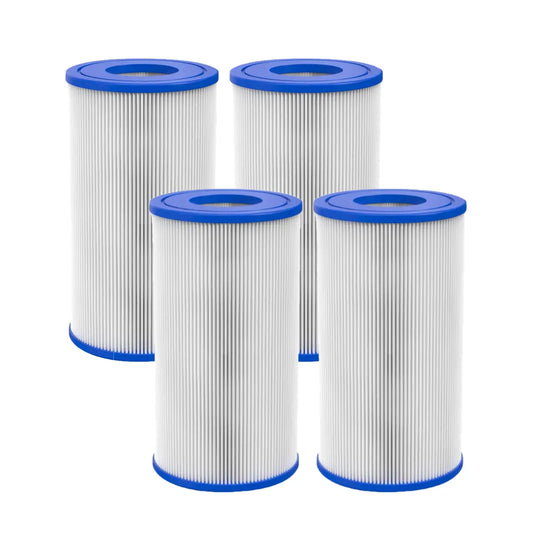
2 months supply
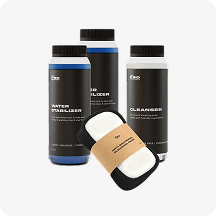
Regular price
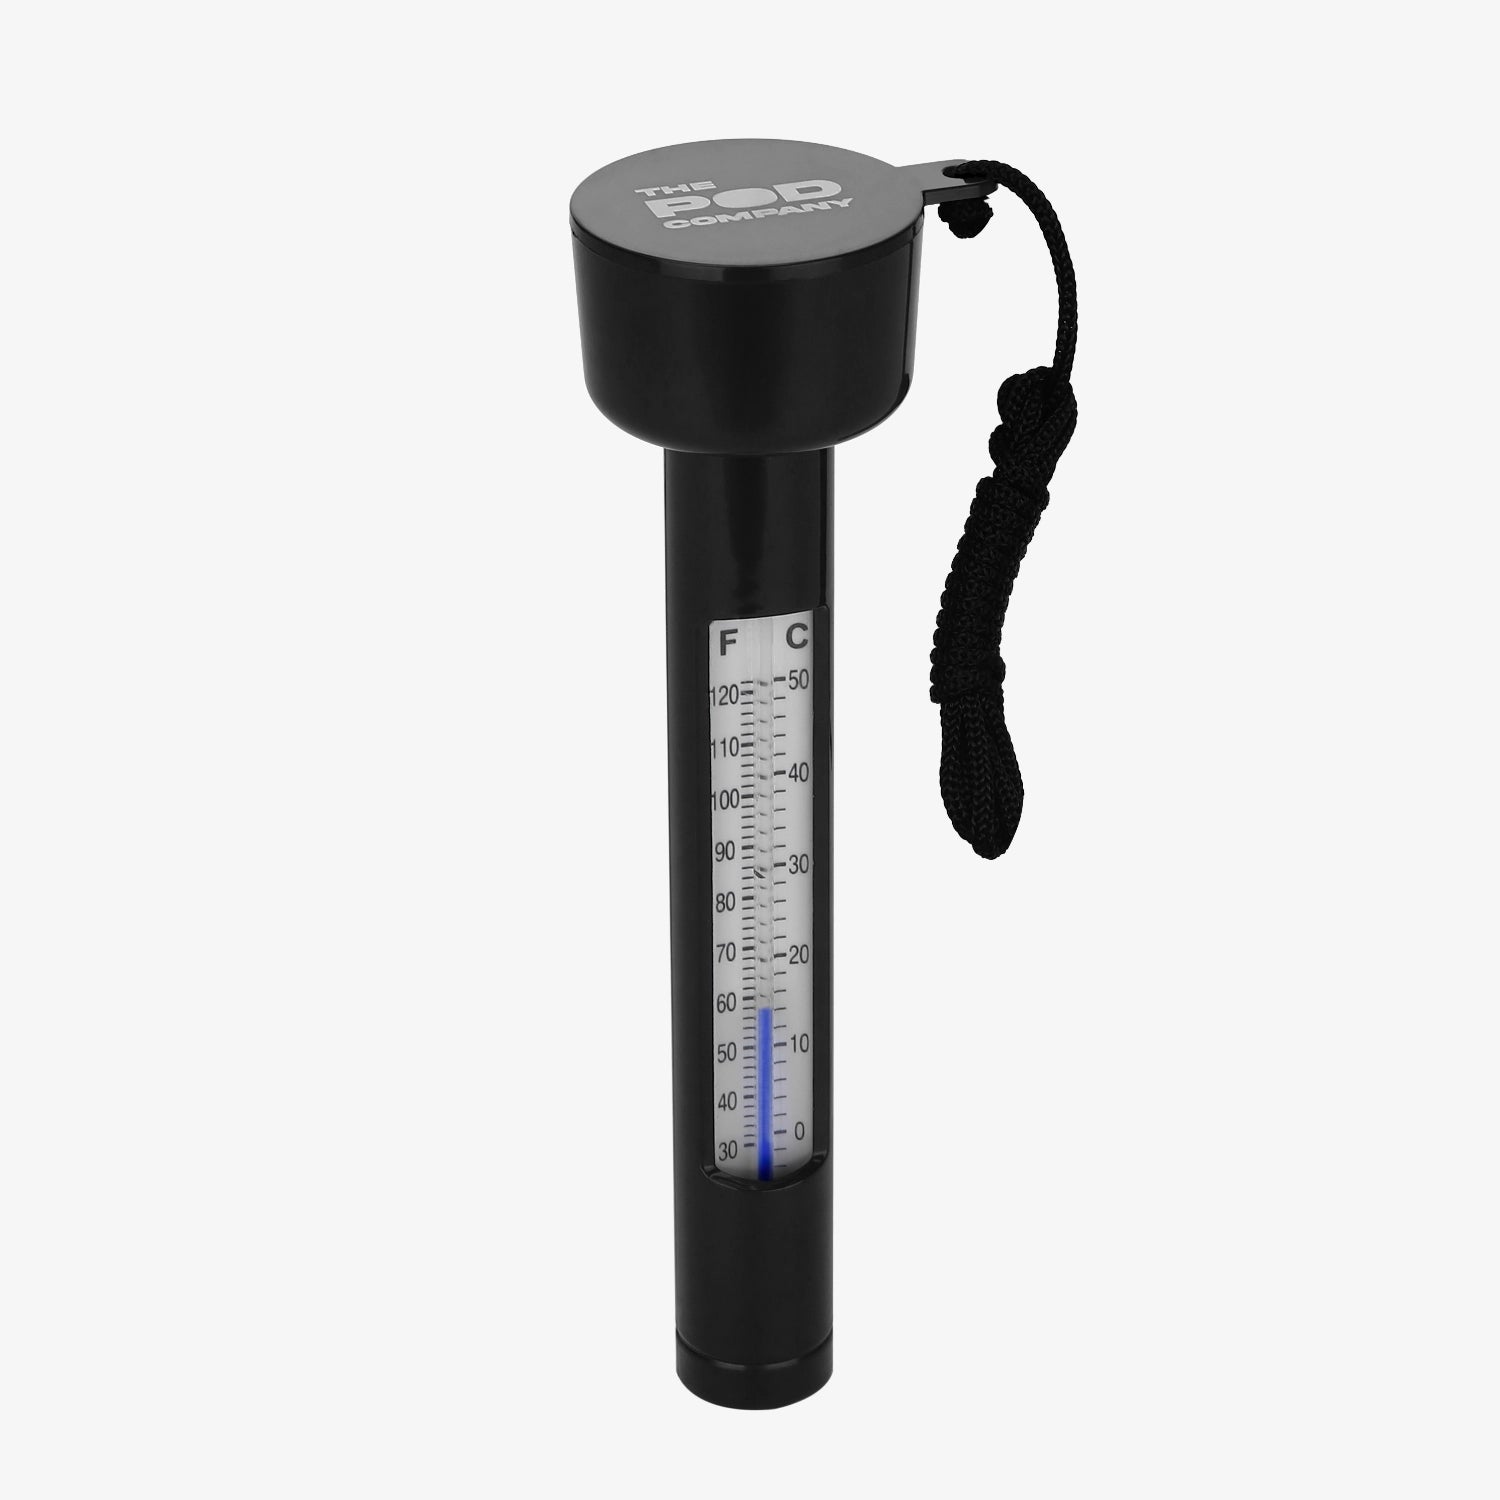
$42.00 USD
Regular price
$56
Sale price
$42 USD
Unit price
per

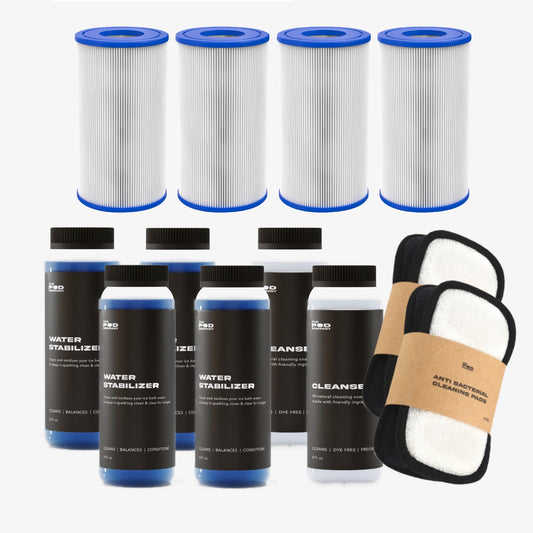
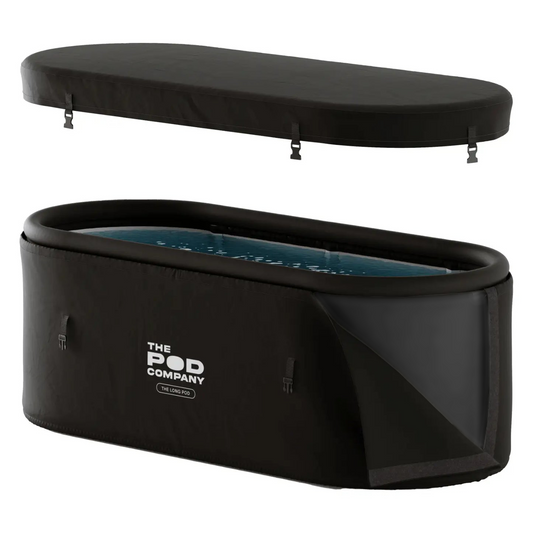
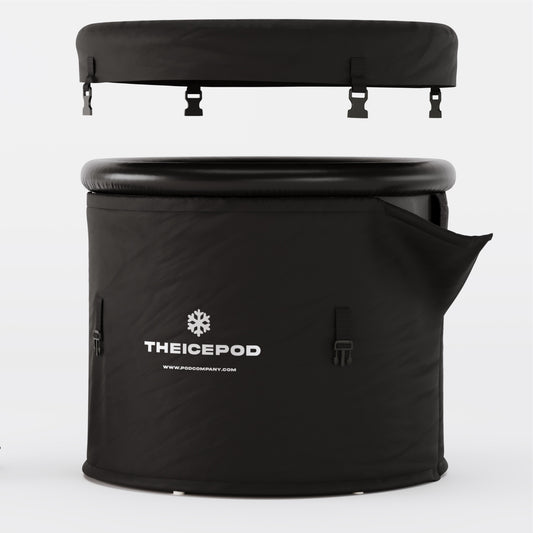
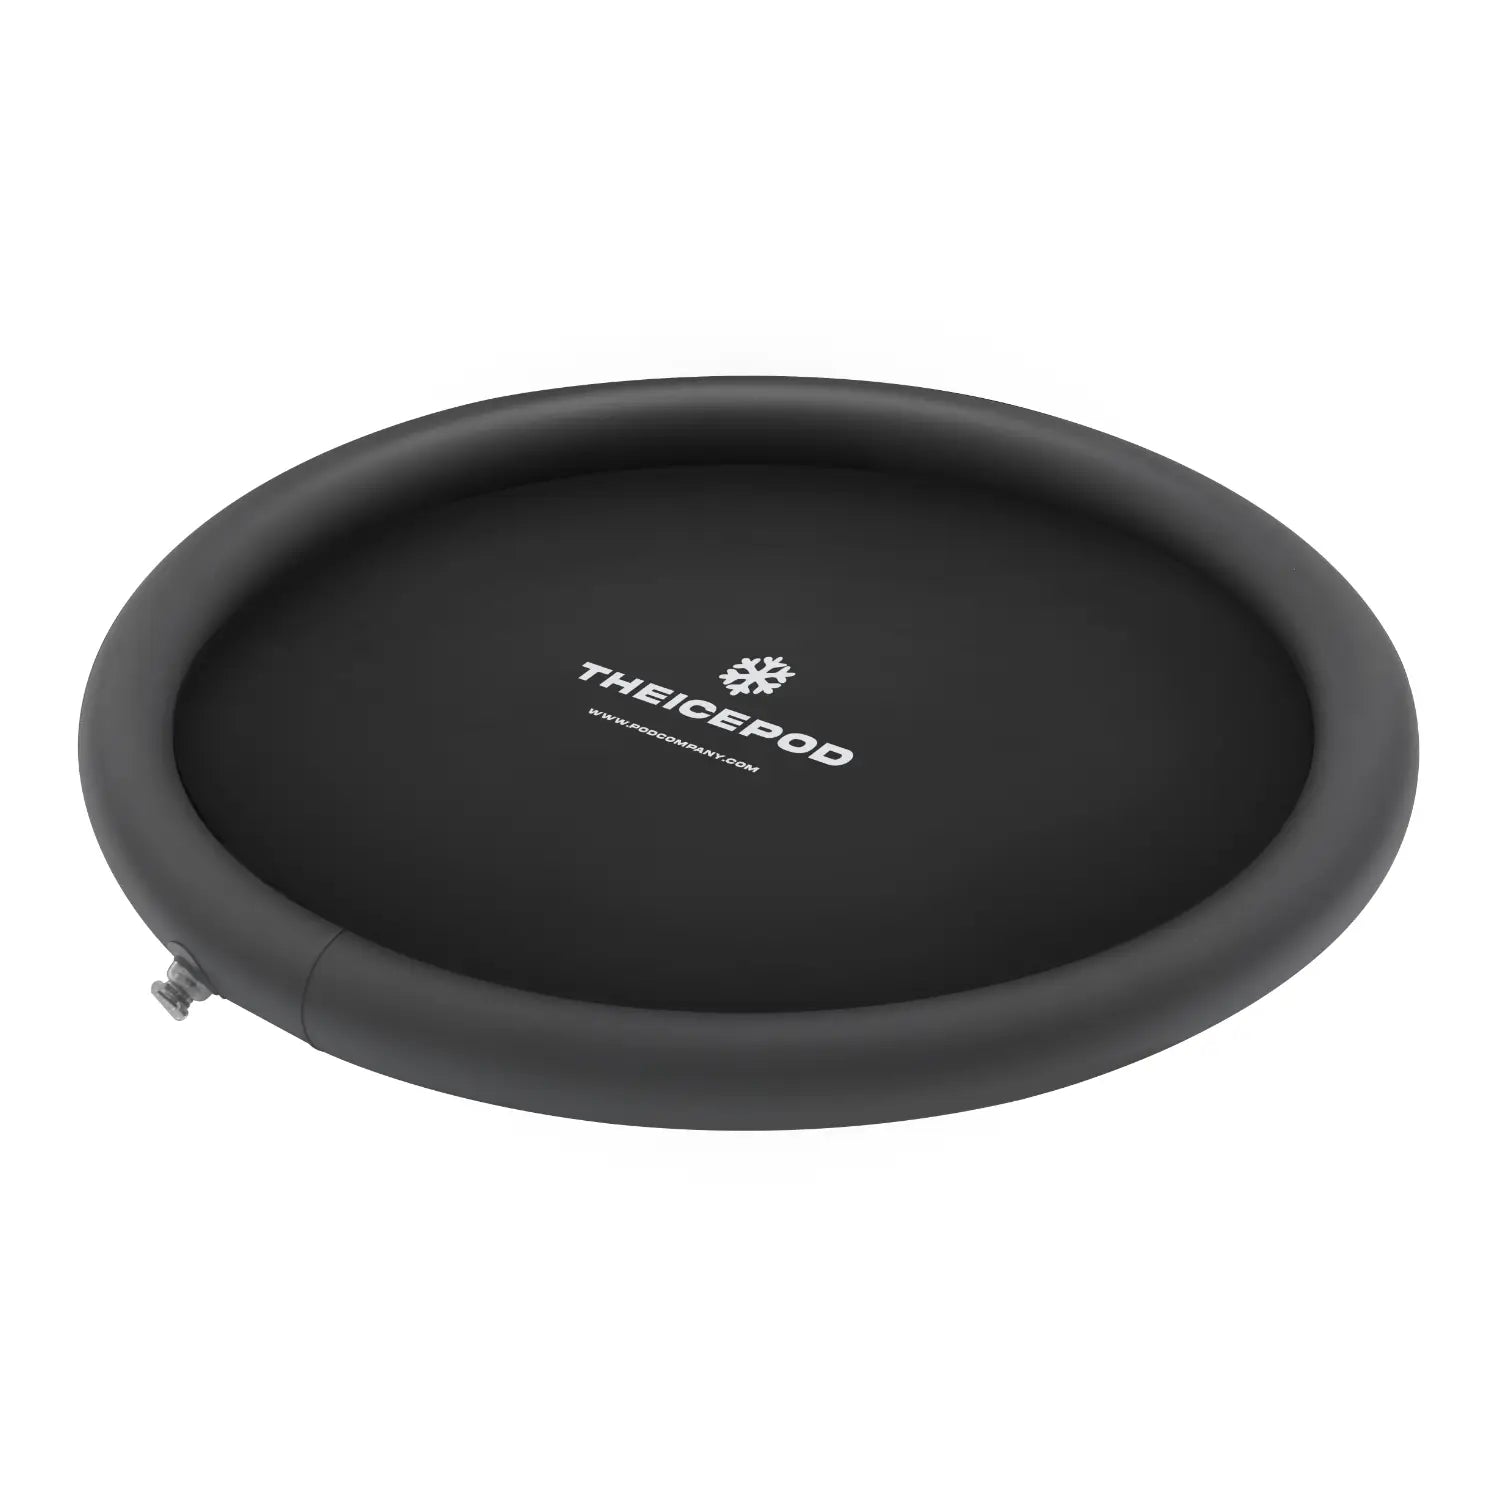
Ultra Insulated IcePod Cover Set
Regular price
$99.00
Regular price
$120
Sale price
$99
Unit price
per

Stops water from freezing
Regular price
$59.00
Regular price
$99
Sale price
$59
Unit price
per
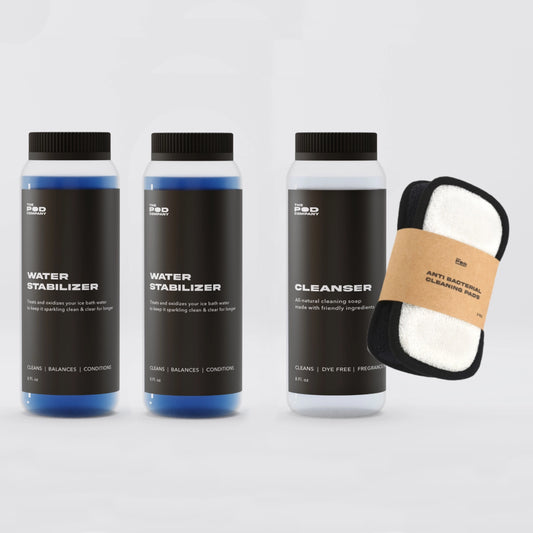
Keeps your water cold
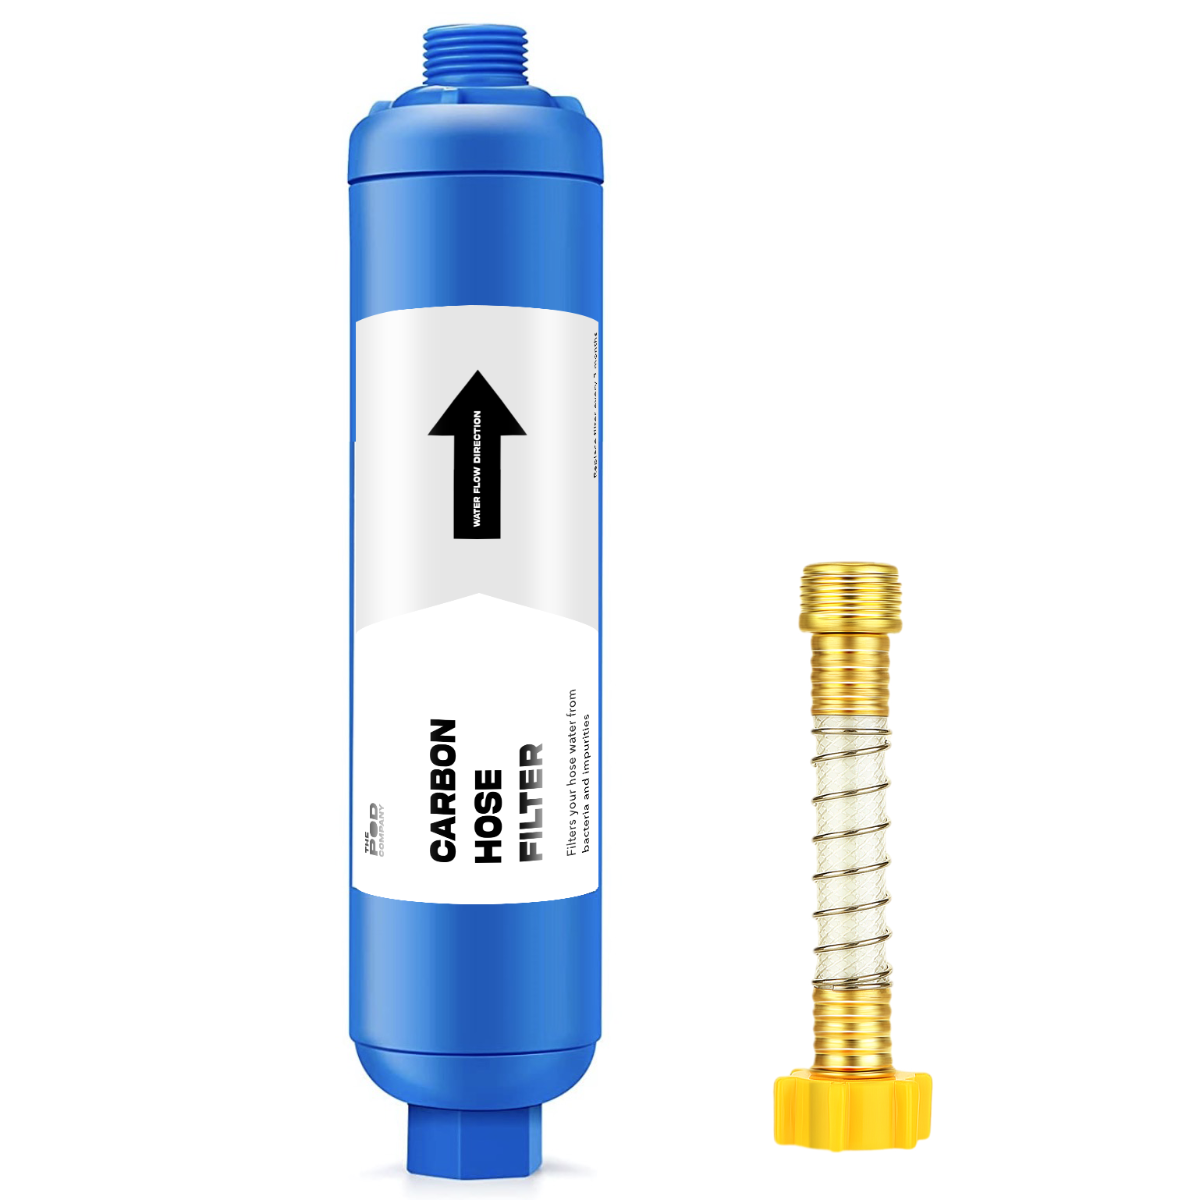
Regular price
$19.00
Regular price
$29
Sale price
$19
Unit price
per

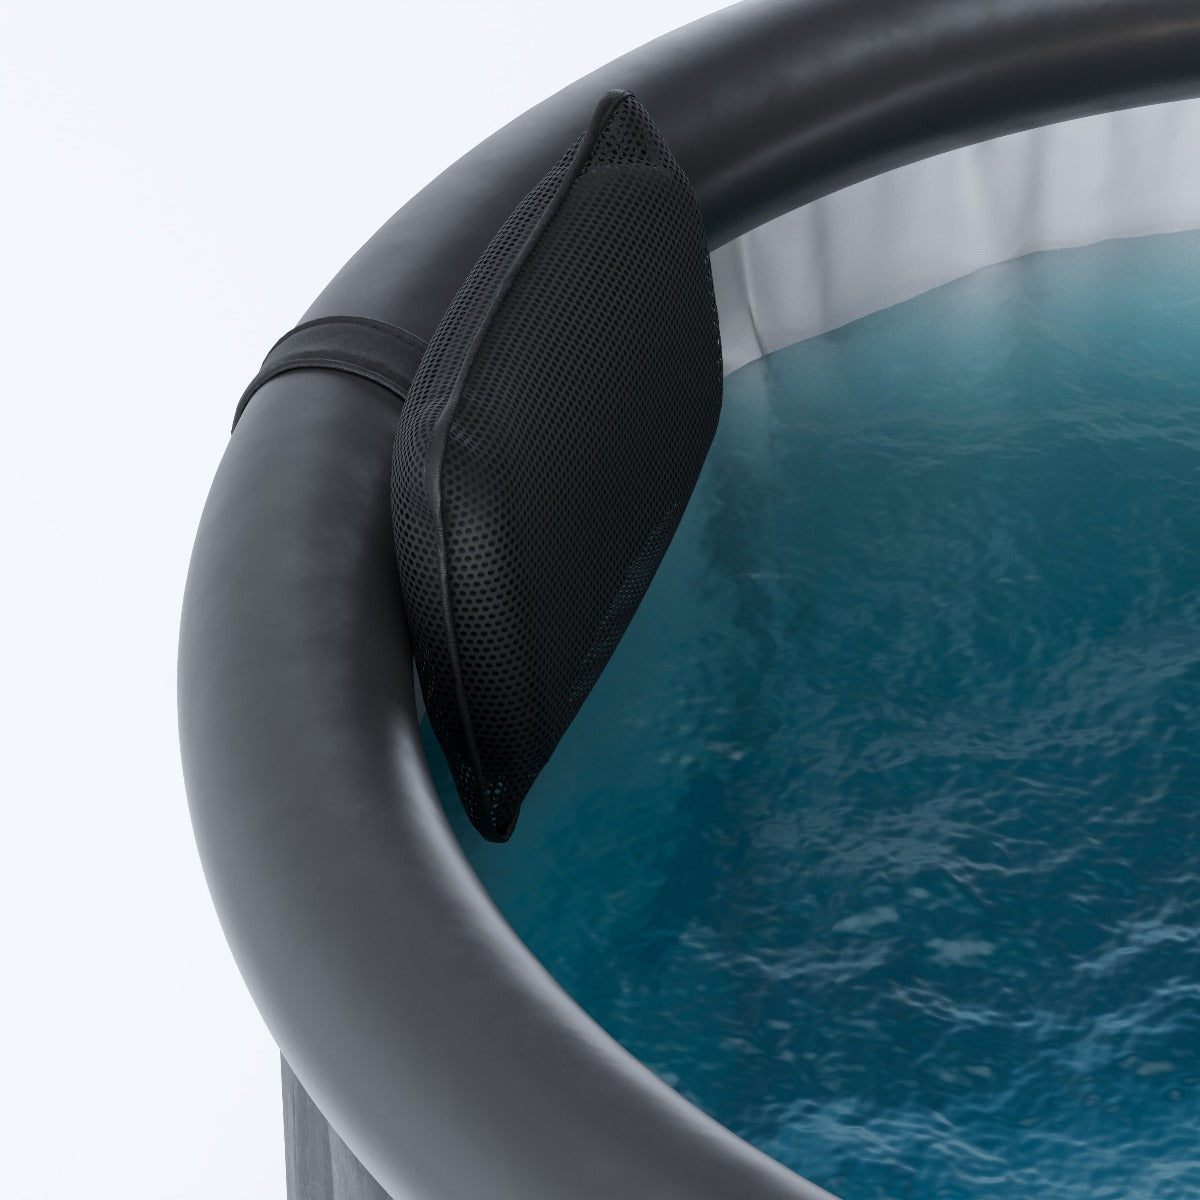
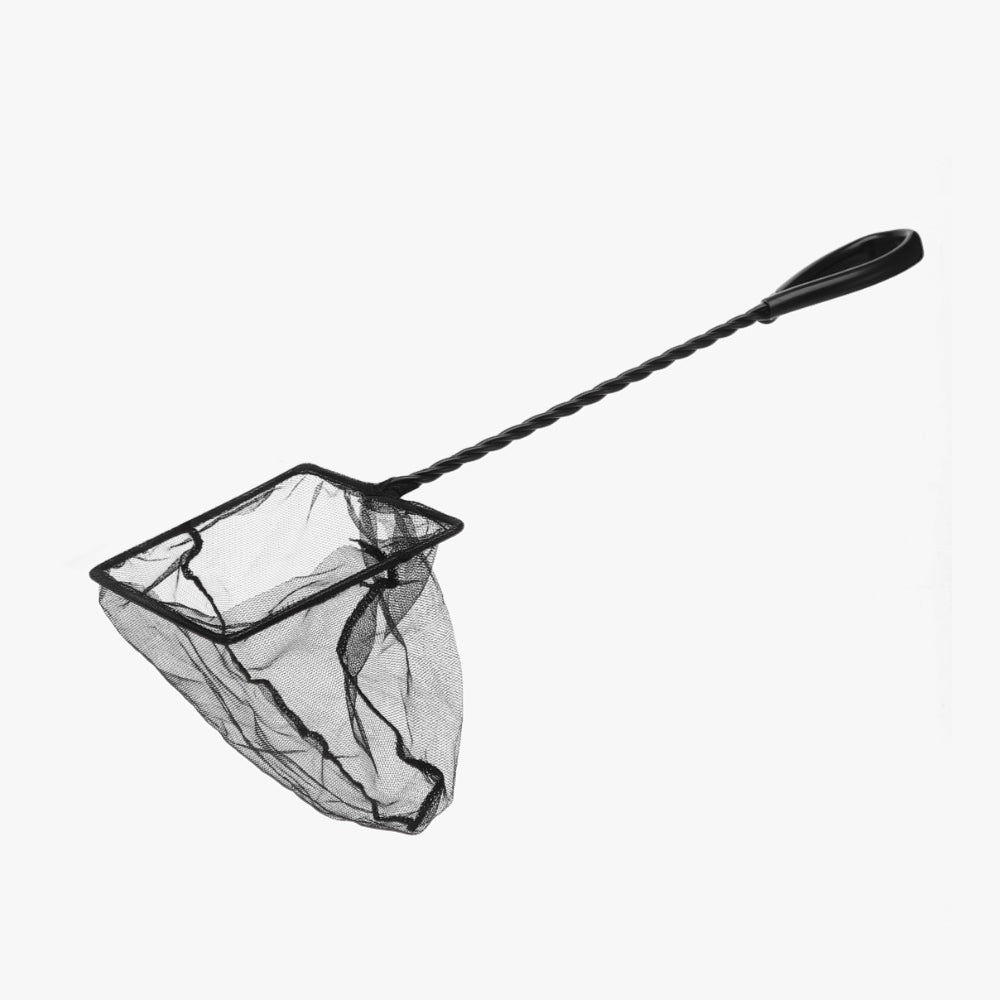
Regular price
$19.99 USD
Regular price
$40
Sale price
$19.99 USD
Unit price
per
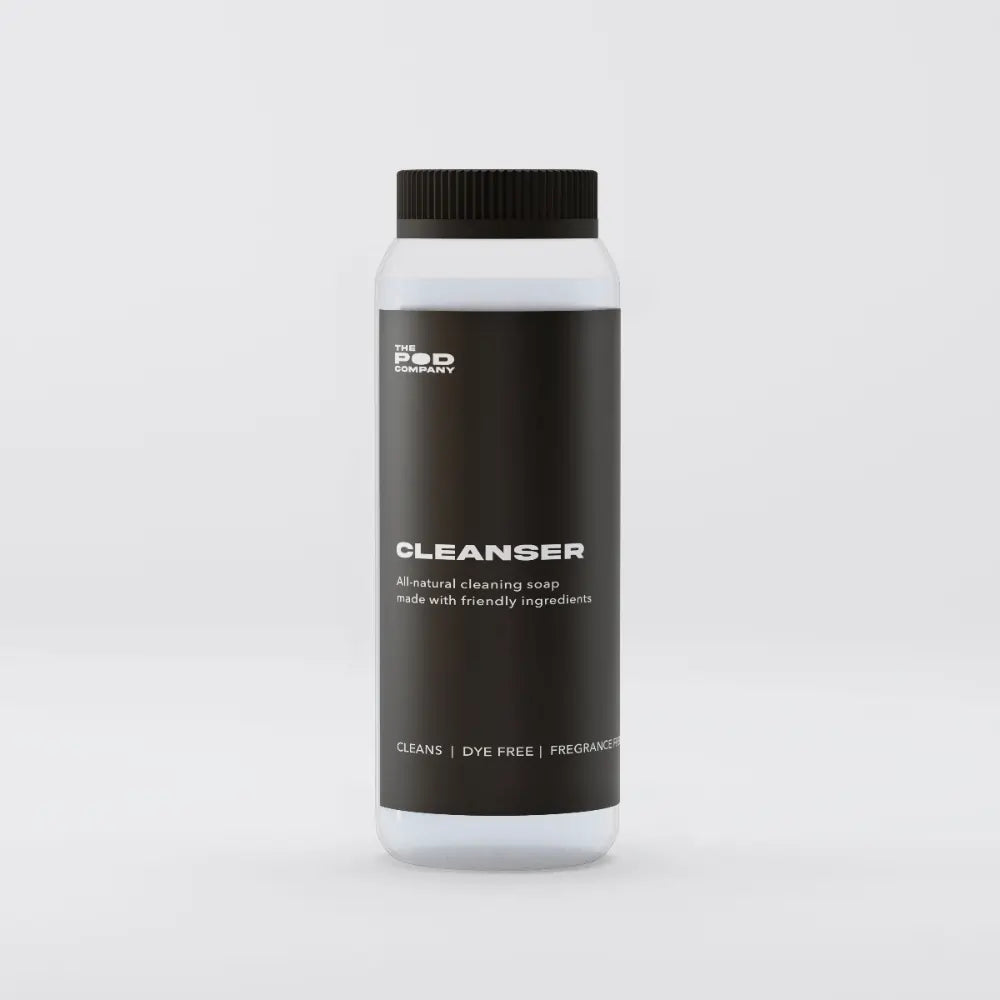
Regular price
$19.00 USD
Regular price
$29
Sale price
$19 USD
Unit price
per

Stops water from freezing
Regular price
$59.00
Regular price
$80
Sale price
$59
Unit price
per
2 months supply
Regular price
$42.00
Regular price
$56
Sale price
$42
Unit price
per

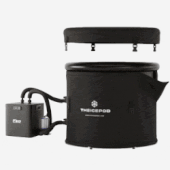
Regular price
$999.00 USD
Regular price
$1,499
Sale price
$999 USD
Unit price
per