


Key Takeaways:
-
Building your own ice bath can be rewarding but usually takes more time, effort, and resources than expected.
-
Choosing a sturdy, watertight container and placing it in a safe, level spot is essential for proper use.
-
Keeping the water consistently cold often requires insulation, a cover, or a cooling system to reduce ice use and maintain performance.
-
The ongoing costs of ice, cleaning, and maintenance can sometimes exceed those of a commercial cold plunge unit.
-
Safety is crucial. Avoid electrical risks, slippery surfaces, extreme cold, and poor water hygiene when using a DIY ice bath.
Ice baths have quickly become a hit among athletes, fitness enthusiasts, and anyone looking to enhance their post-workout recovery and overall health.
Although there are now affordable ice baths available that make it easy for everyone to enjoy the benefits of this magical recovery tool, you can also choose to create your very own DIY ice bath tub.
Whether you're looking to reduce inflammation, enhance recovery, or promote mental well-being, having a cold tub readily available can be a valuable addition to your wellness routine.
In this article, we will show you how to make a cold plunge tub at home, ensuring a safe and enjoyable experience while reaping the benefits of this invigorating practice.
We’ll also explain why this may not be a good idea for you - and why you may be better off investing in a quality tub instead.
5 Steps to Make an Ice Bath
By following each of these steps, you can learn how to make an ice bath tub:
1. Choosing the Right Container
The first step in learning how to make an ice bath at home is to choose a container for your DIY ice bath barrel.
It’s a big advantage if you can find an insulated container to keep the ice bath cold, but this isn’t always possible.
Make sure the container is large enough that you can comfortably fit in it. It should be deep enough for you to submerge yourself up to your neck if possible.
Your container should also be shaped in a way that’s easy for you to get in and out of.
Some popular options include
- a bathtub
- a chest freezer
- a very large plastic storage container
- a horse trough
You may choose to build a wooden frame around your container, or just use the container alone.
2. Finding the Proper Location
Before you learn how to make an ice bath tub, you need to decide where to set up your ice bath.
Usually, ice baths can be used indoors or outdoors, but you will need a large space if you choose to set it up inside.
Make sure you have a flat surface for the tub, and keep in mind that the area around the ice bath will likely get wet as you’re using your ice bath.
3. Creating a Cooling System for Consistent Temperatures
To create a more advanced ice bath, you can add a cooling system to keep the temperature more consistent.
If you’re using a chest freezer as your ice bath, you can simply use a digital temperature controller that ensures the freezer runs (and cools the bath) whenever the temperature gets above a certain level.
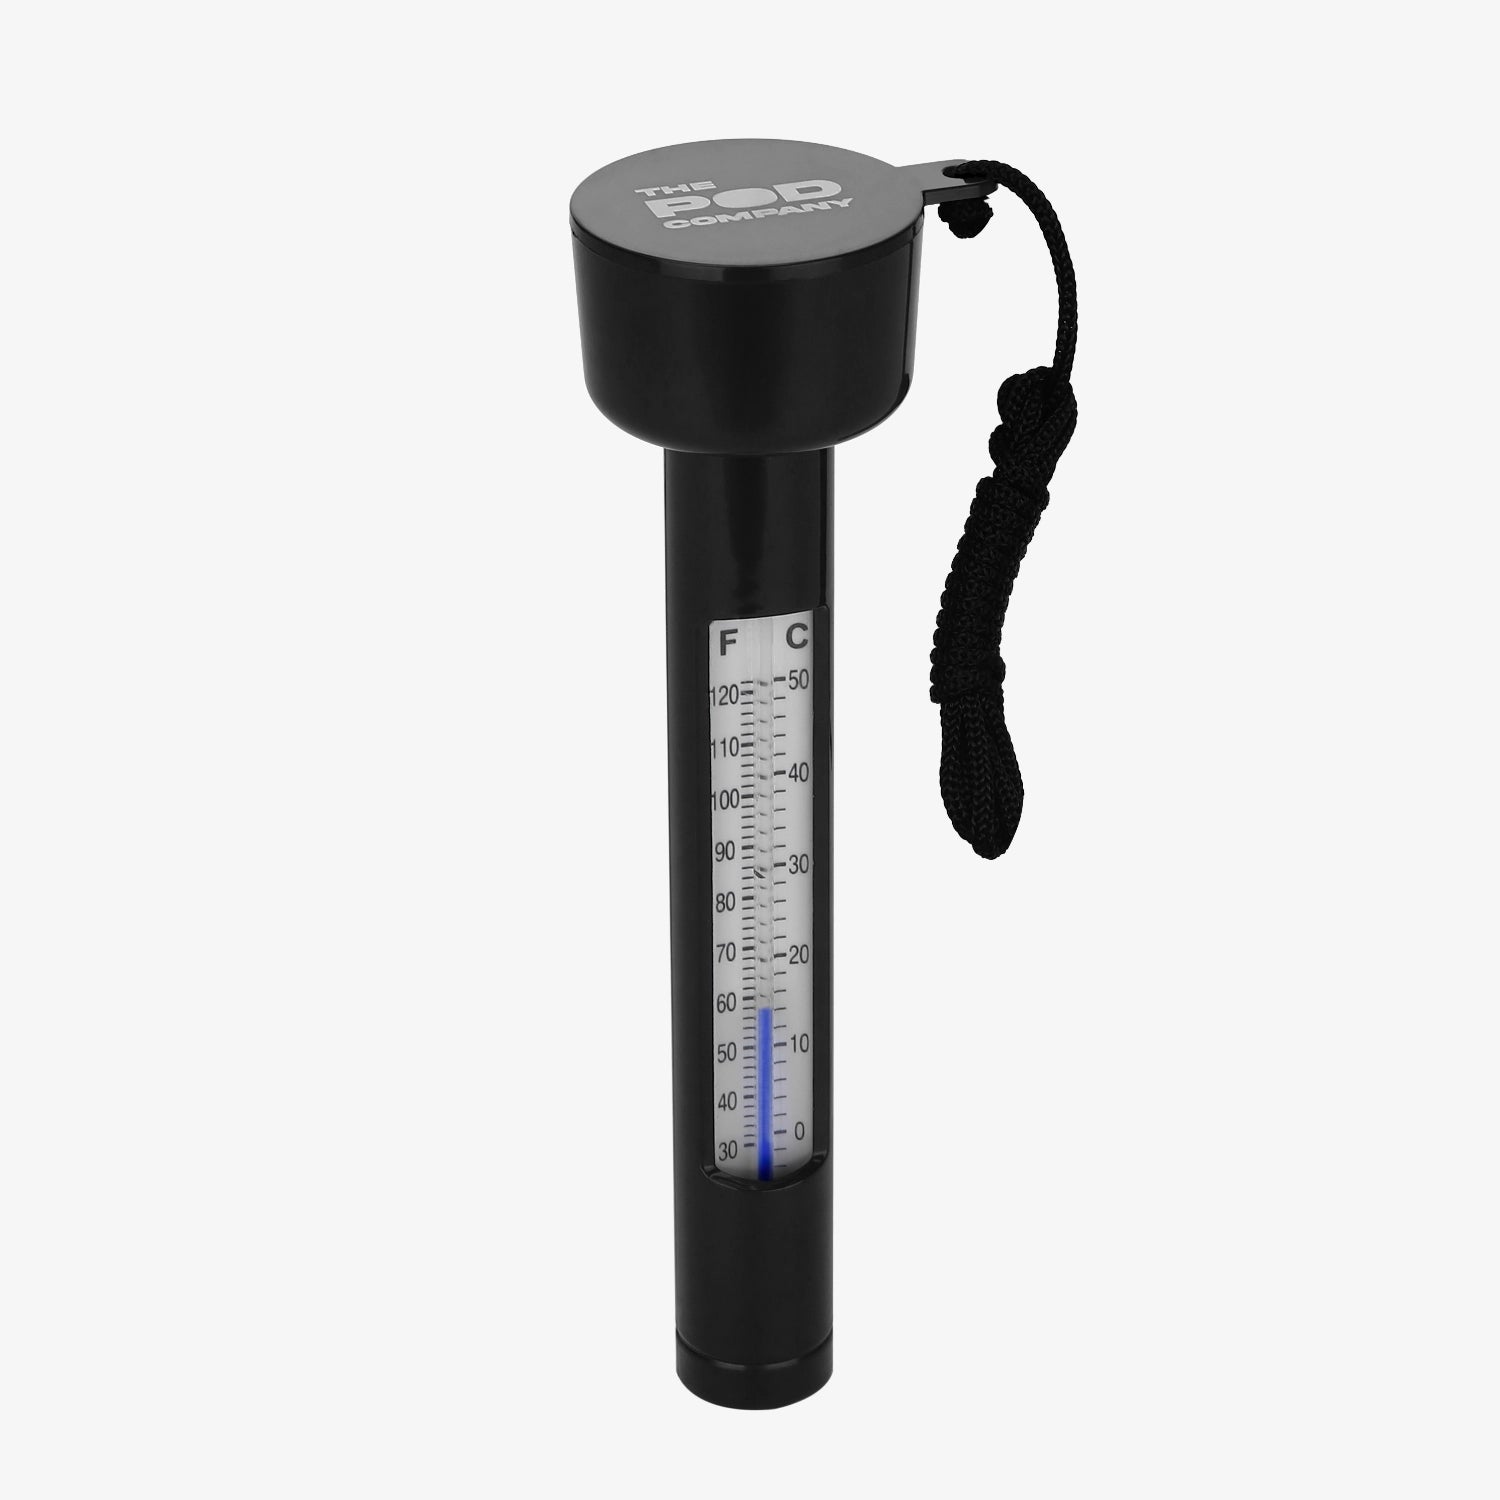
If you don’t want to deal with the effort and expense of a proper cooling system, you can simply use a thermometer to check the temperature of the ice bath.
When the temperature is too high, just add more ice. This will lower the temperature, but can also cause more extreme changes in temperature and doesn’t regulate your ice bath as tightly.
4. Adding Insulation and a Cover
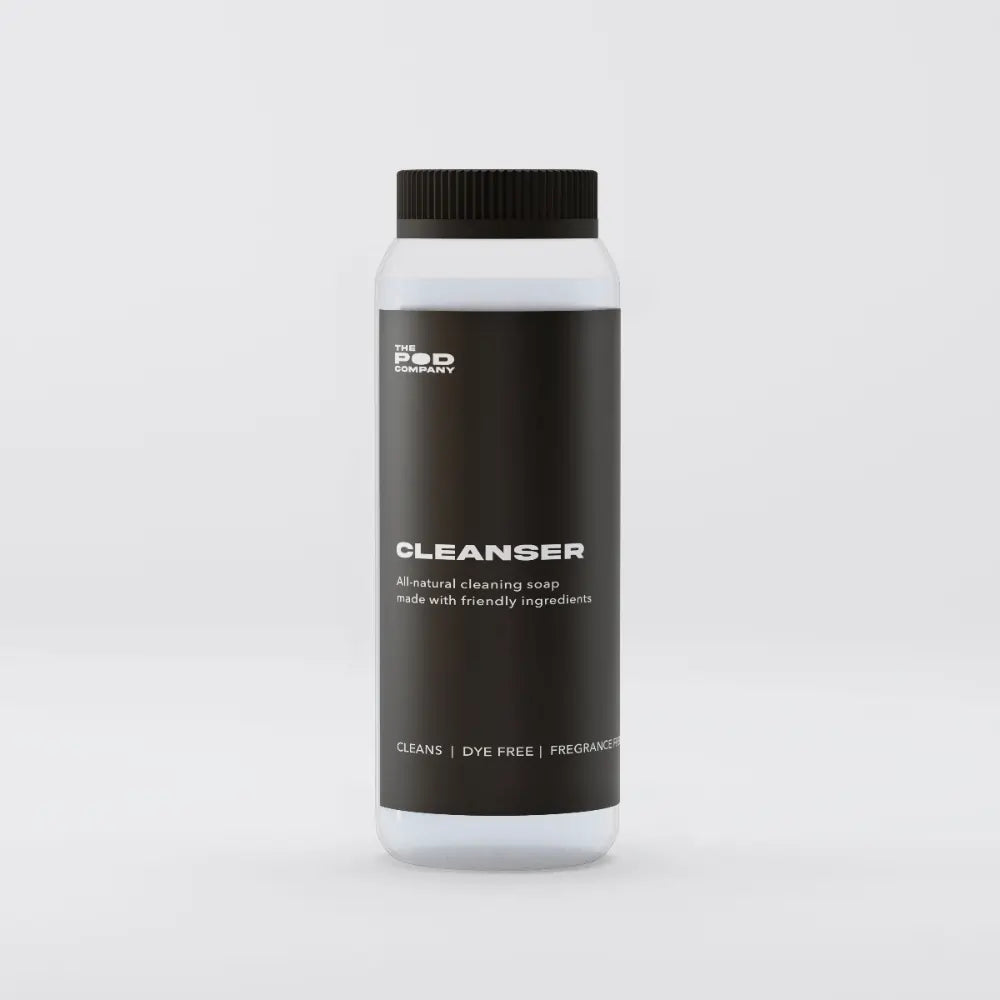
Another optional step is to insulate your DIY ice bath. If you’re building a frame for your ice tub, and putting the tub inside the frame, you can insulate the spaces around the tub to better regulate the temperature of your ice tub.
This way, the temperature will remain stable for longer, and you’ll use less ice each time you use your tub.
One of the best ways to insulate your DIY ice bath tub is with insulating spray foam, which you can use to spray the spaces around your tub. You can also choose to use foam insulation, which can be placed around the outside of your tub.
Adding a cover also helps to keep your tub cold and clean. If you’re building a frame for your tub, you can also build a cover that fits over the whole structure, or simply use one that covers the actual tub portion.
Adding insulation to your cover also helps to keep the ice bath’s temperature stable.
5. Filling and Preparing the Tub
The final step is to fill your tub. First, add cold water. Using a hose for easier filling, fill the tub about halfway full with cold water and take the temperature of your tub.
The ideal temperature range for a DIY ice bath is 50-59 degrees Fahrenheit.
If your tap water is quite cold and your tub is outside, you may not need to add ice, or may only need a small amount of ice.
After adding ice, check that the temperature is within the ideal range before jumping into your new DIY cold plunge tank.
Safety Considerations
It’s also important to think about your safety. The area around your ice bath can become wet and slippery, so make sure you put down some non-slip mats to help you get safely in and out of the tub.
You may also want to consider steps or a bench beside your tub if it has high sides.
If you’re adding a cooling system to your tub, or anything else that involves electricity, make sure you take extra precautions and use GFCI power outlets for extra safety.
If you’re not using an automatic cooling system, at least use a thermometer to make sure the temperature isn’t too cold, as this can lead to hypothermia.
Should You Make a Cold Plunge Tub or Invest in a Professional Setup?

Many people new to cold therapy wonder whether to invest in an ice bath or learn how to make a DIY cold plunge at home.
Let’s weigh up the pros and cons of making your own vs investing in a professional setup.
Time and Effort Required
Learning how to make an ice bath at home might seem simple, but it requires more time and effort than a lot of people realize.
Between sourcing materials, establishing appropriate fill levels, and actually putting together your ice bath, there’s a lot of trial and error involved in learning how to make a cold plunge tub DIY.
On the other hand, many commercial ice baths come with simple instructions for easy setup, which means you can save time and get to the benefits of cold therapy faster than when you build your own cold plunge tub DIY.
Costs Add Up
If you’ve tried DIY projects before, you probably already know that they don’t always work out to be cheaper! Sure, you get a nice feeling of self-satisfaction once you create something yourself, but your wallet doesn’t necessarily feel the same way.
Learning how to make an at home ice bath is no different.
The cost of the materials often ends up being the same, if not more, as if you’d just purchased a professional tub to begin with.
When you combine this with all the time and effort you have to put into a DIY cold plunge tank, it starts to turn into quite a costly undertaking.
The End Result May Leave You Disappointed and Underwhelmed
Professional ice tubs have been scientifically designed (usually for pro athletes) to deliver the best possible physical and mental health benefits.
With appropriately insulated materials to keep the bath at the ideal temperature, and ergonomic features to make your ice bath more comfortable, there’s a lot to love about a professional ice bath.
When you learn how to make an at-home ice bath, you sacrifice some of this quality and often end up with a basic ice bath that doesn’t benefit your body and mind as much as a professional tub can.
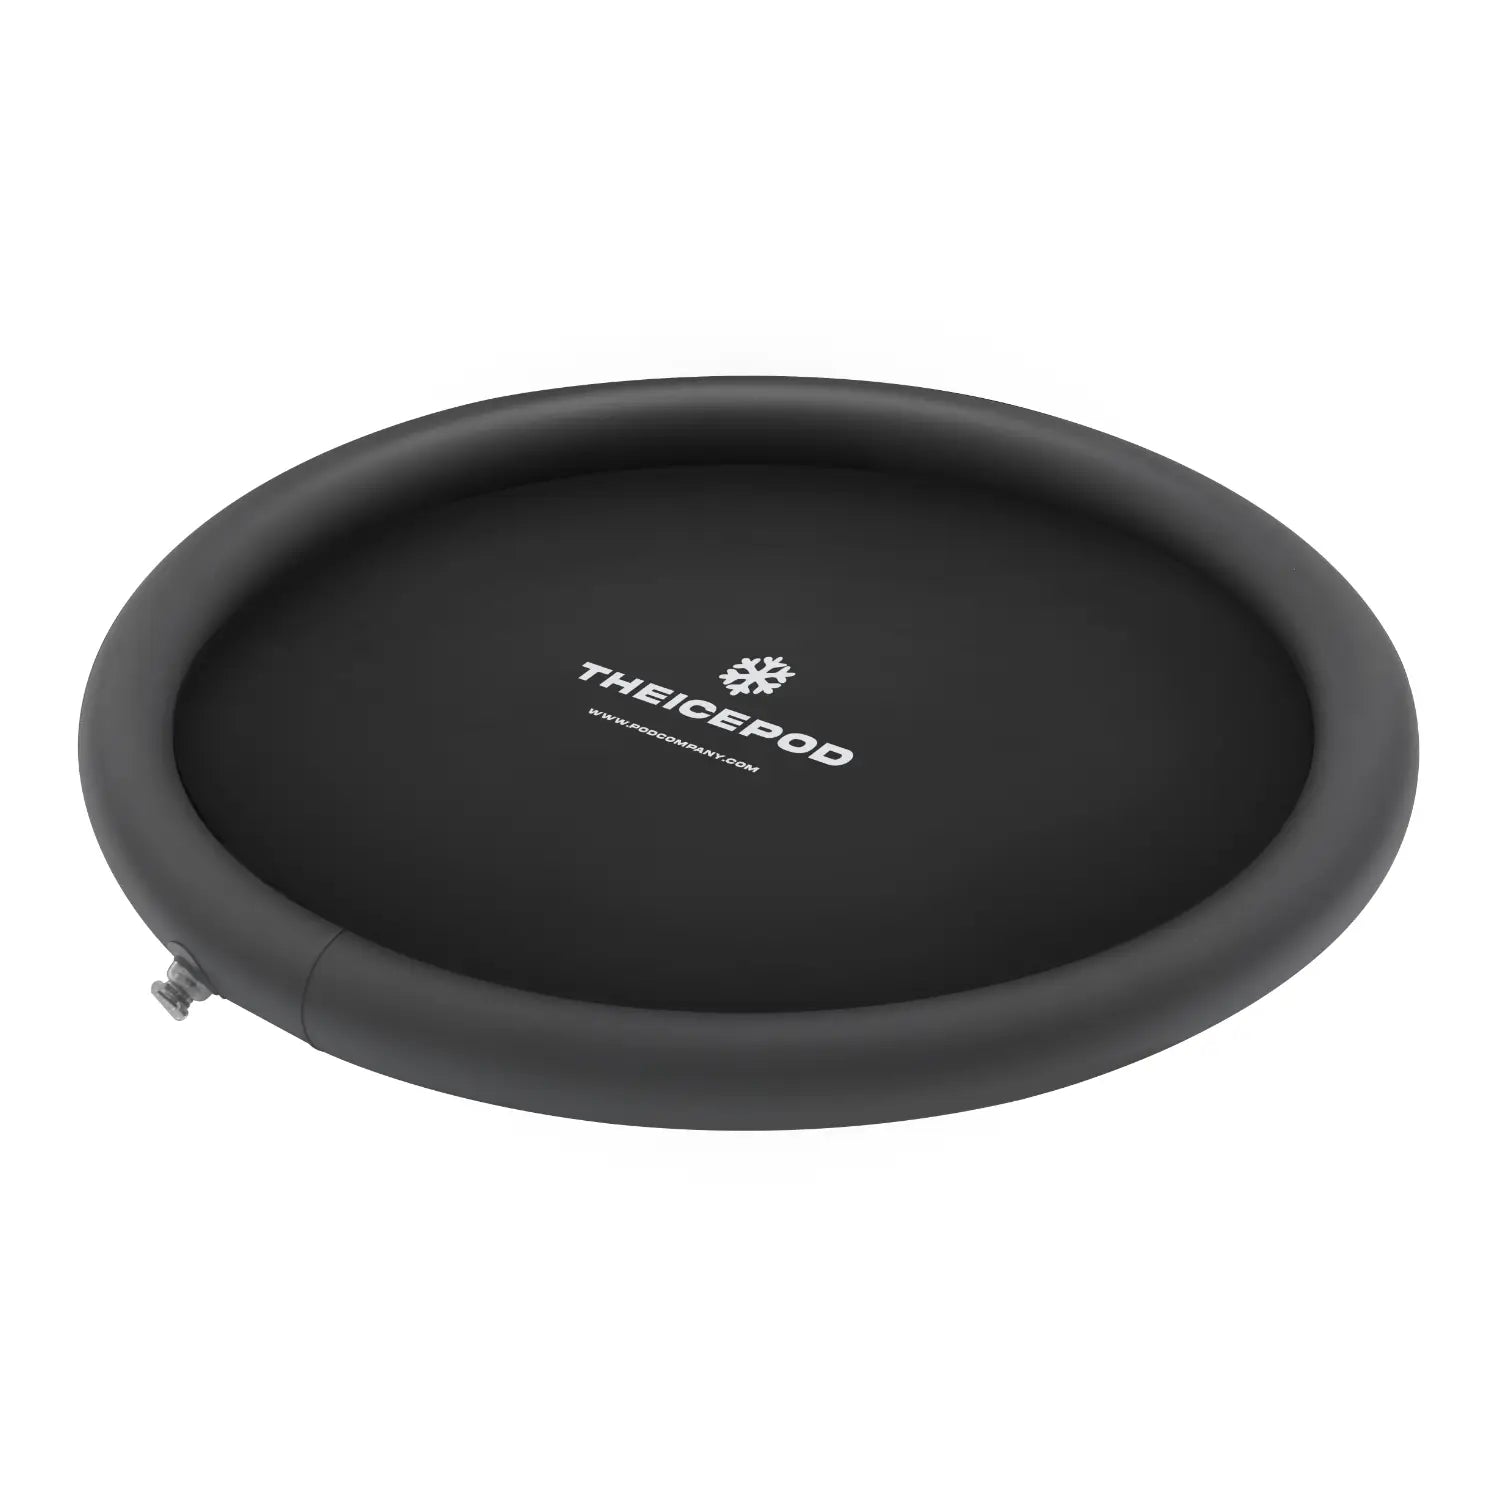
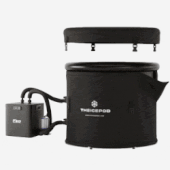
Save Yourself the Time and Hassle of Making a DIY Ice Bath Tub With The Ice Pod!

As you can see, learning how to make an ice bath at home is a bit more involved than it may seem at first!
Between the cost of all the materials, the time it takes to put it all together, and the fact that it might not deliver the results of a professional ice bath, is it really worth it?
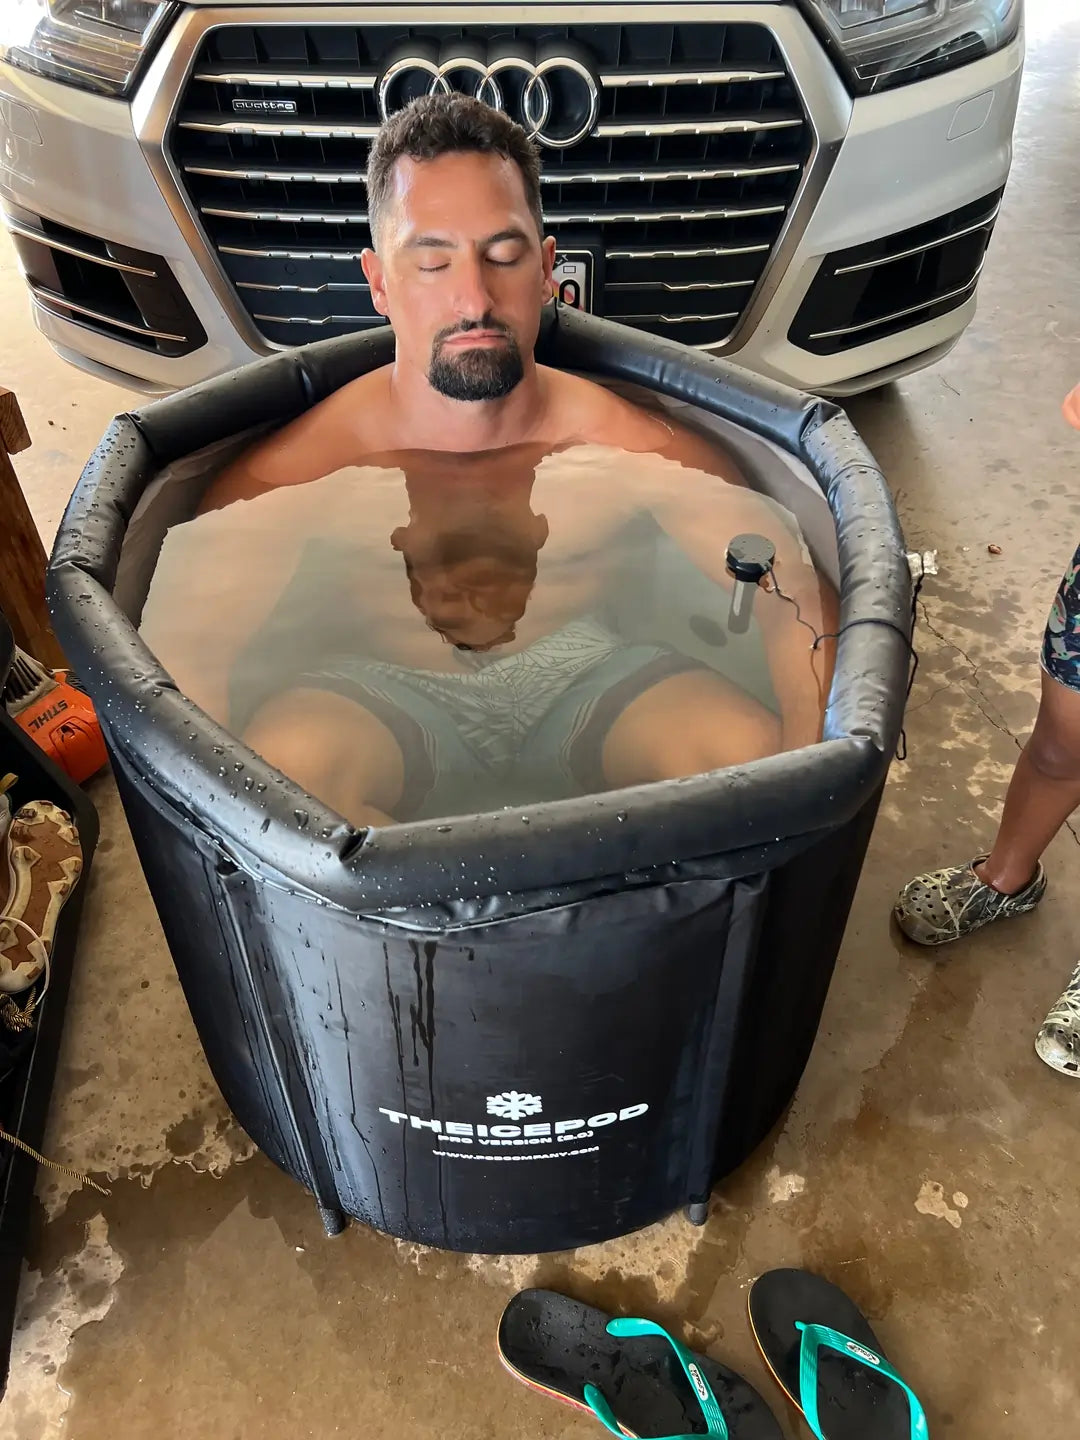
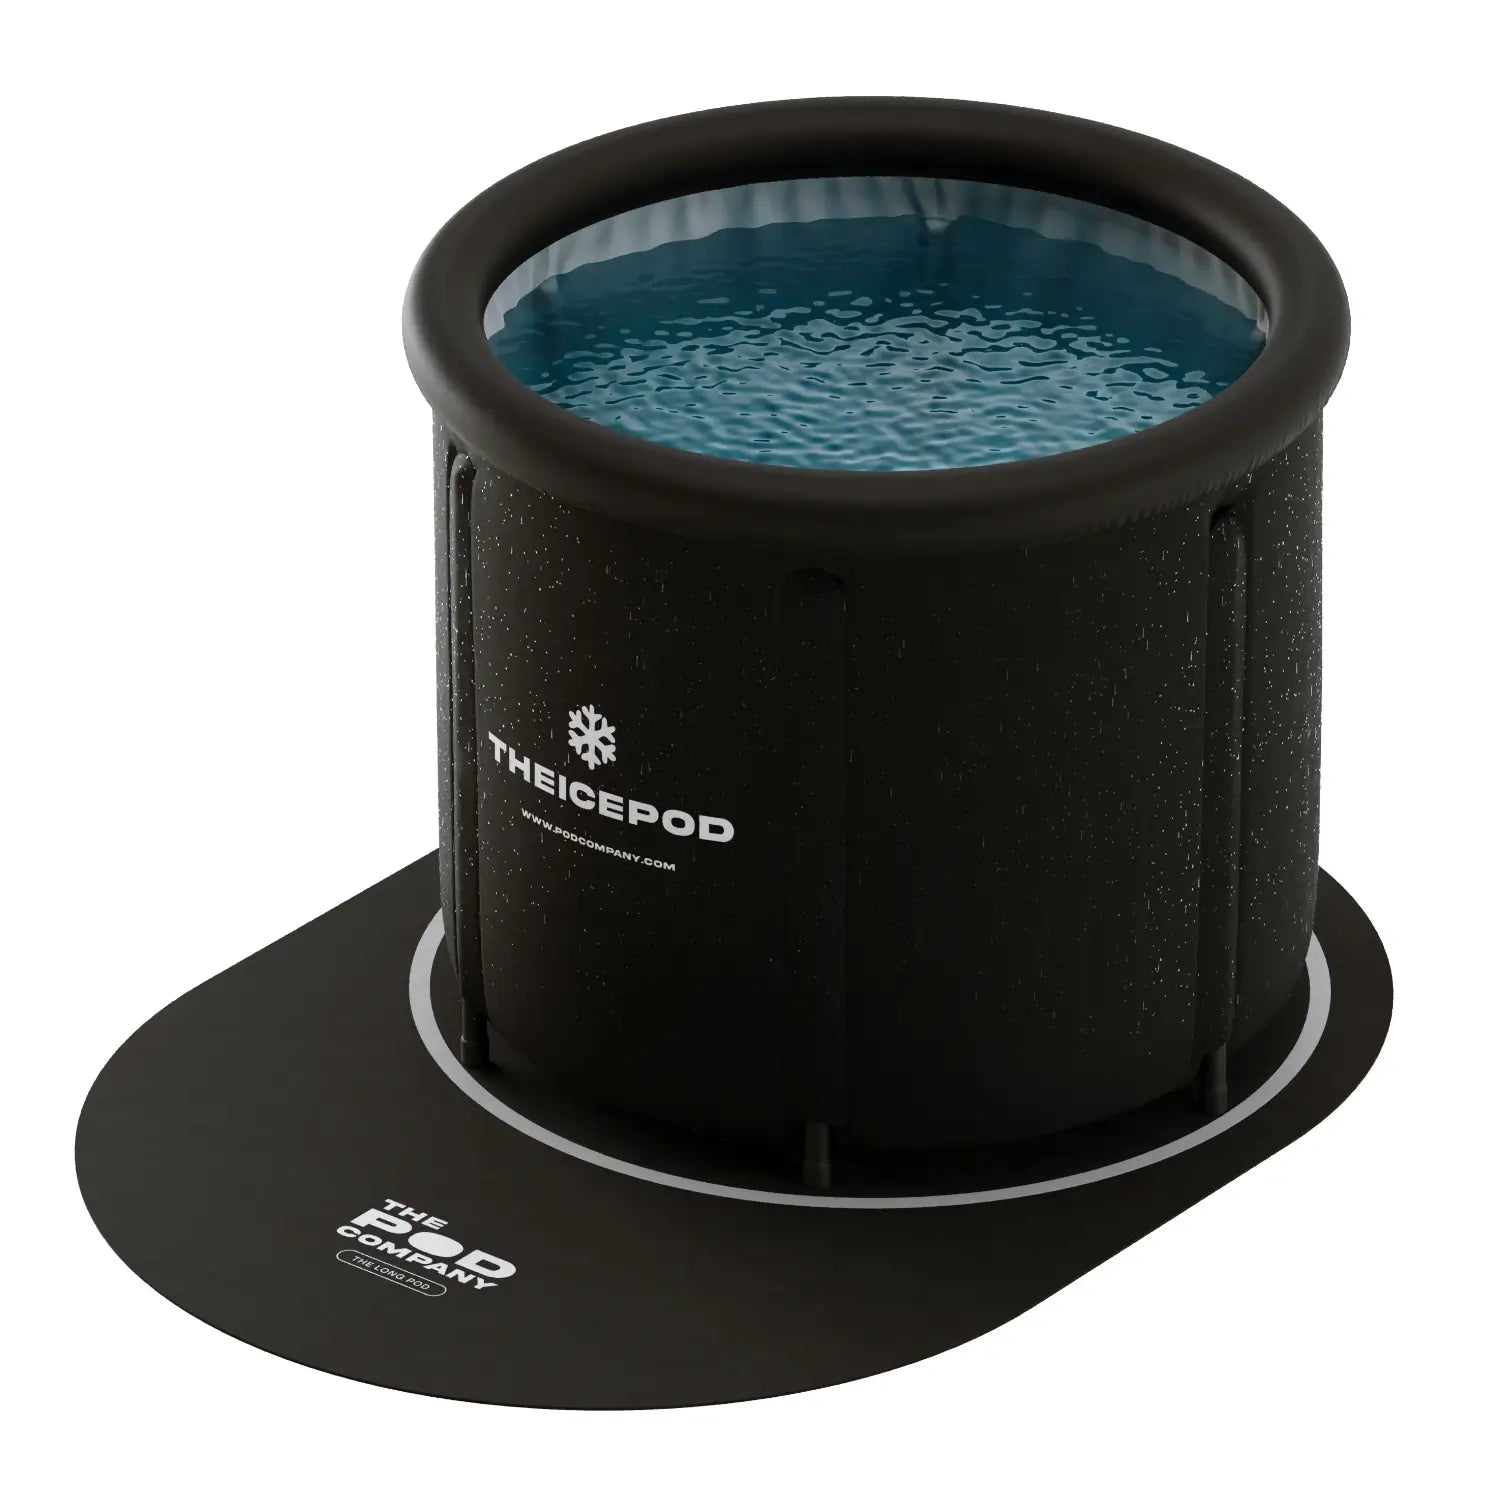
Instead, invest in an affordable, professional ice bath from the Pod Company! You can find an ice bath tub for sale at the Pod Company for just $150, which is likely less than you would spend on the materials for your own tub.
Plus, our Ice Pod is insulated, easy to set up, and completely portable for cold therapy on the go.
Suitable (and comfortable) for a large adult, the Ice Pod weighs just 7 lbs, can be used indoors or out, and is delivered to your home free of charge.
If you want to enjoy all the health benefits of an ice bath, the Pod Company’s Ice Pod is the easiest, most affordable way to do so.
Don’t stress over learning how to make an at home ice bath - we’ve already done it for you!
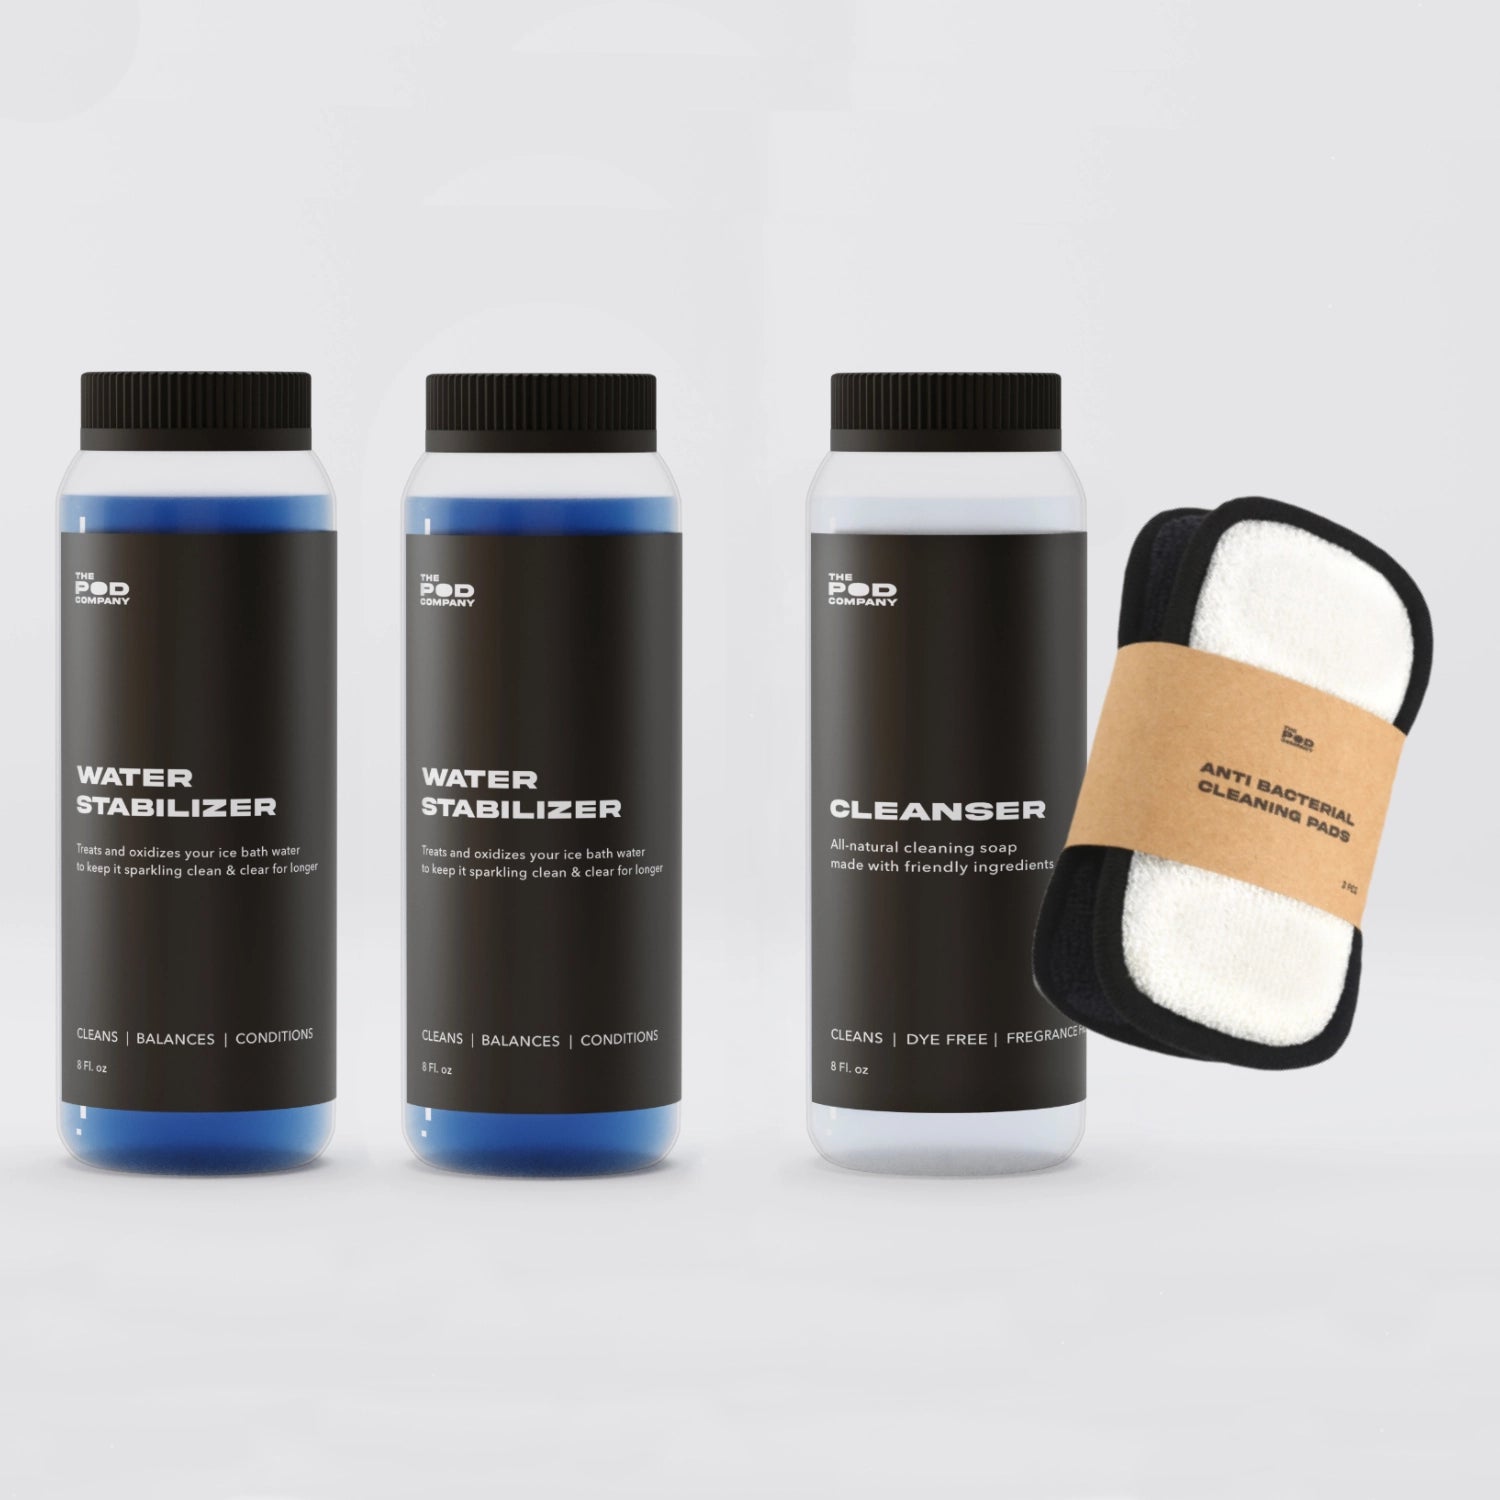
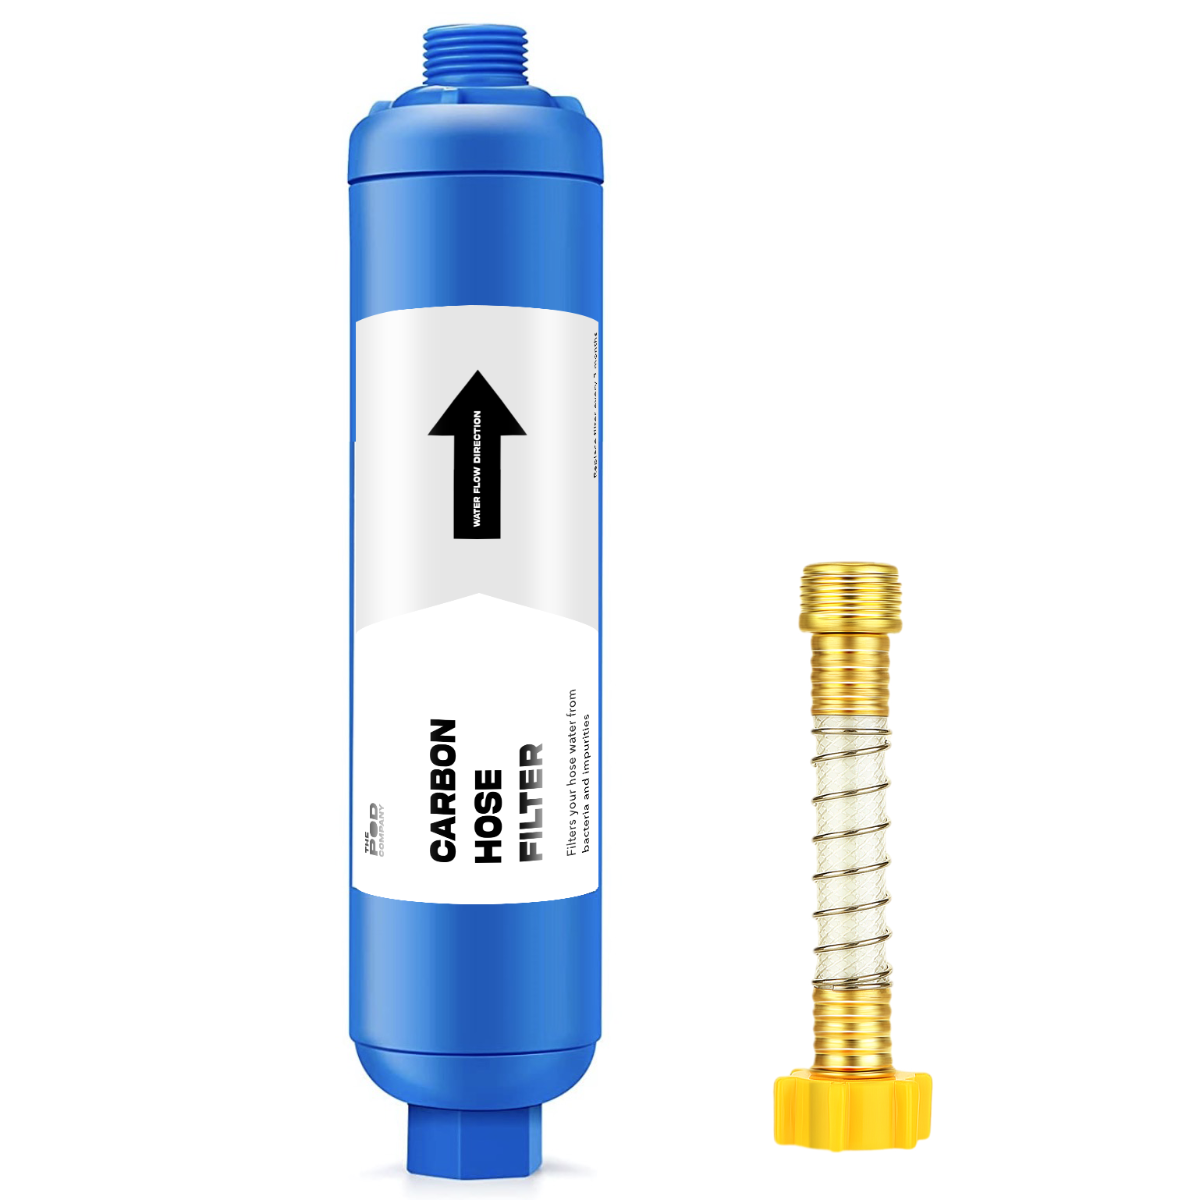
You can get your portable ice bath today and add our water chiller for ice bath to make it even more effective.
Invest in a professional ice bath without spending thousands - get your Ice Pod now!
FAQs
How can you make a DIY ice bath at home?
Fill a large container or bathtub with cold water, then add ice gradually until the temperature reaches about 10–15°C.
What’s the ideal temperature for a DIY ice bath?
Maintain a temperature between 10°C and 15°C for the best balance of comfort, recovery, and safety.
Do you need special equipment for a DIY ice bath?
No. A thermometer helps monitor temperature accurately, but standard tubs or barrels work fine for personal use.
How do you stay safe during a DIY ice bath?
Limit sessions to under 10 minutes and warm up gradually afterward with dry clothes or light movement.